CASTING DIRECTOR: How do I encode and import media in iSession?
This article provides a brief overview of how Casting Directors can prepare their video files for the best performance in iSession. We will cover how to re-encode videos to the correct resolution and the various ways to bring that media into your project timeline so you can keep your casting session moving smoothly.
Video Encoding
To ensure your videos play back correctly and upload efficiently, they should be set to 720p resolution. Follow these steps to adjust your files and software settings:
Open your video file in QuickTime.
Click File and select Export As, then choose 720p...

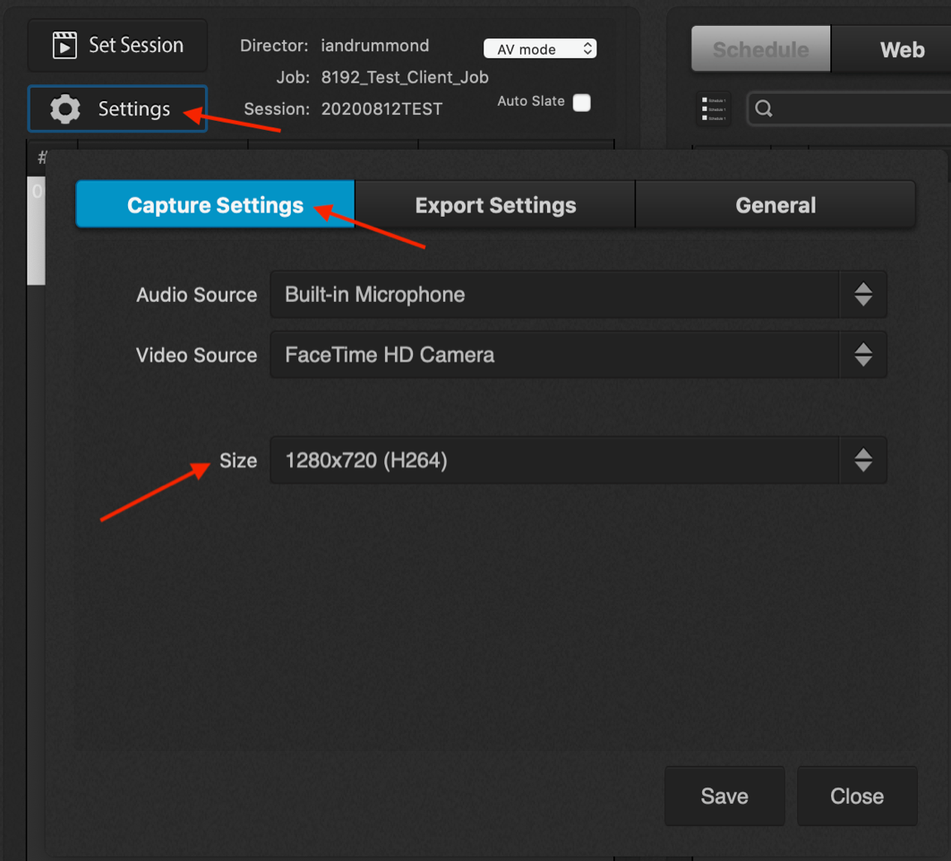
Open iSession and click the Settings button located at the top of the screen.
Verify that the Size under both Capture Settings and Export Settings is set to 1280x720.
Importing Media
You have a few different ways to import media into iSession, depending on your preferred workflow:
Using the Import Button
Open the take recorder.
Click the Import Media button at the top of the screen to open the file browser.
Select your file to complete the import.

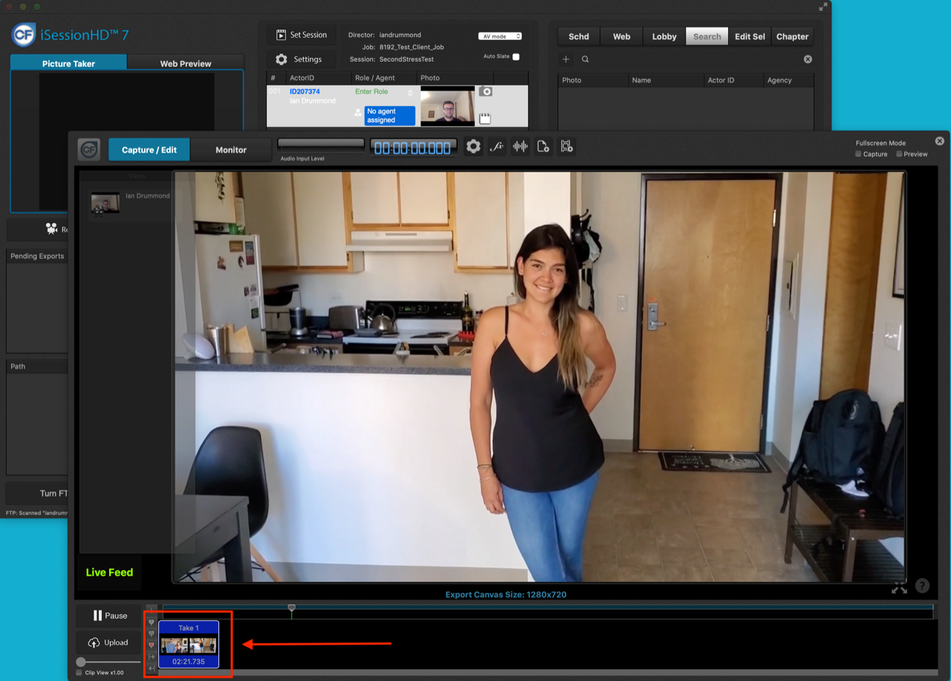
Drag and Drop
You can simply drag video files from your computer folders and drop them directly into the iSession timeline.
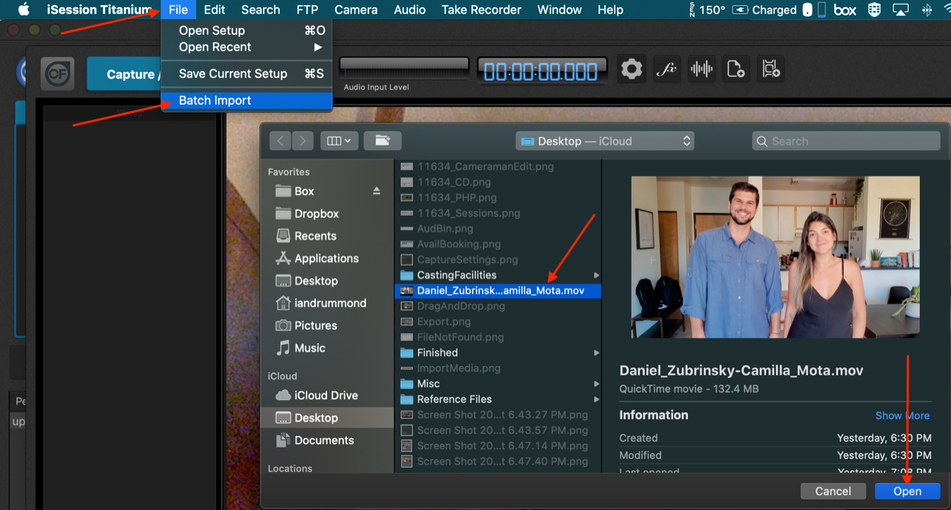
Batch Import
If you have multiple files to bring in at once, use the batch import tool found in the File menu within iSession.