TALENT REPRESENTATIVE: How Do I Edit and Manage Talent Headshots?
This article explains how to upload, edit, replace, and delete headshots for the Talent on your roster.
Navigating to the Edit Headshot Page for an Actor
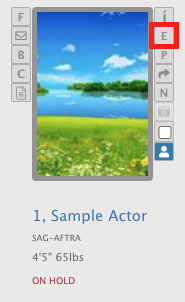
In your roster, locate the Talent whose headshot you would like to edit.
Click on the E button to the right of their headshot.
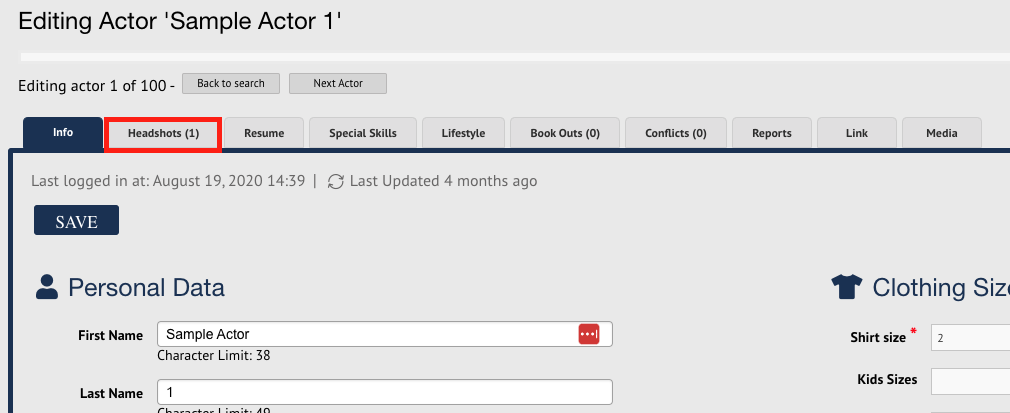
This will direct you to the Edit Actor page. From here, click on the Headshots tab.
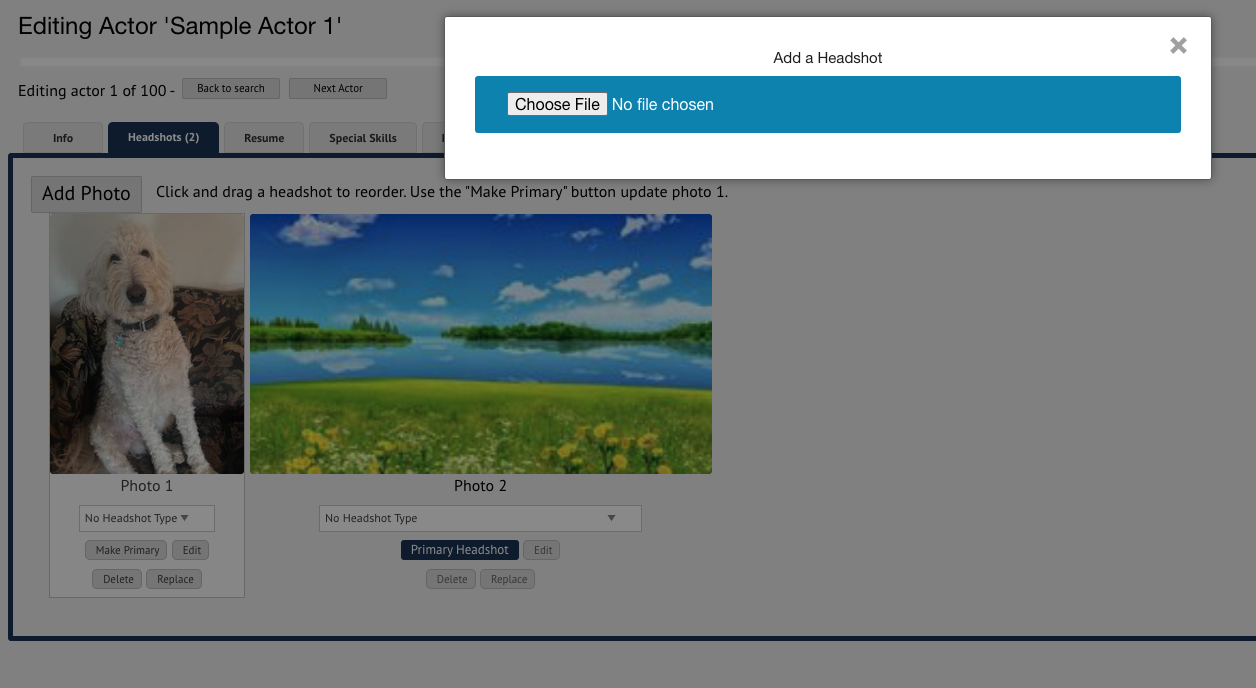
Uploading a New Headshot
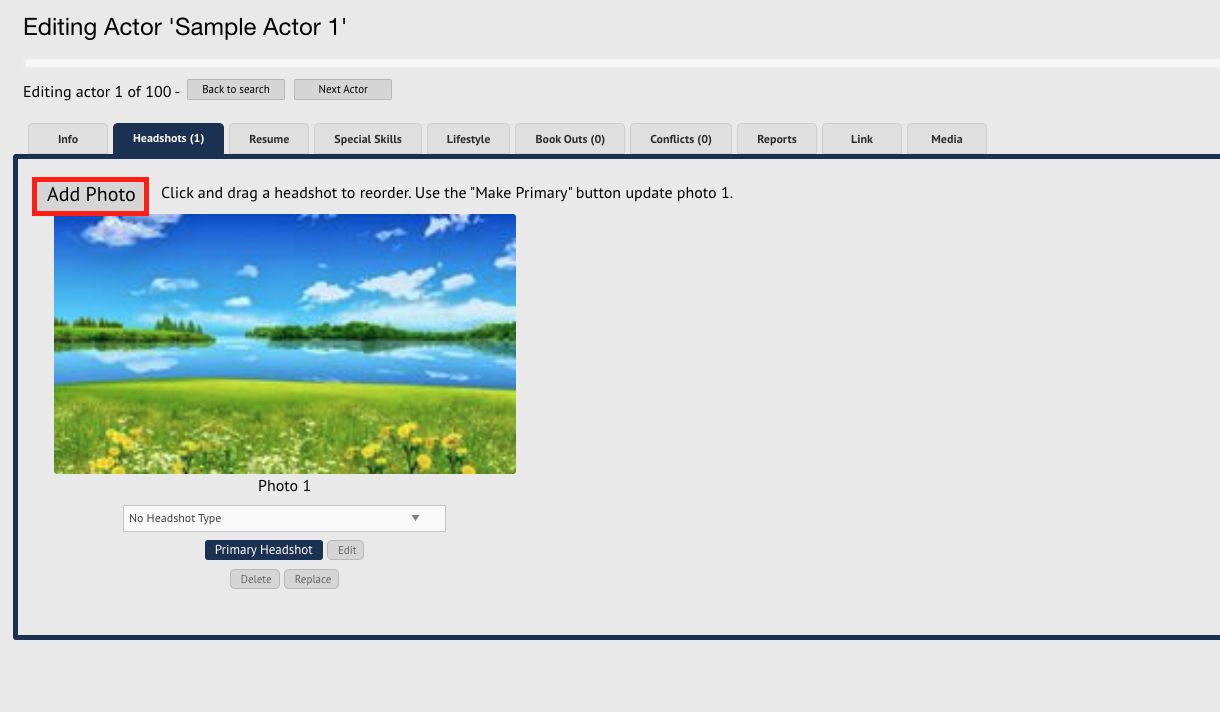
Click on the Add Photo button.
Click the Browse button to select a photo from your device to upload.
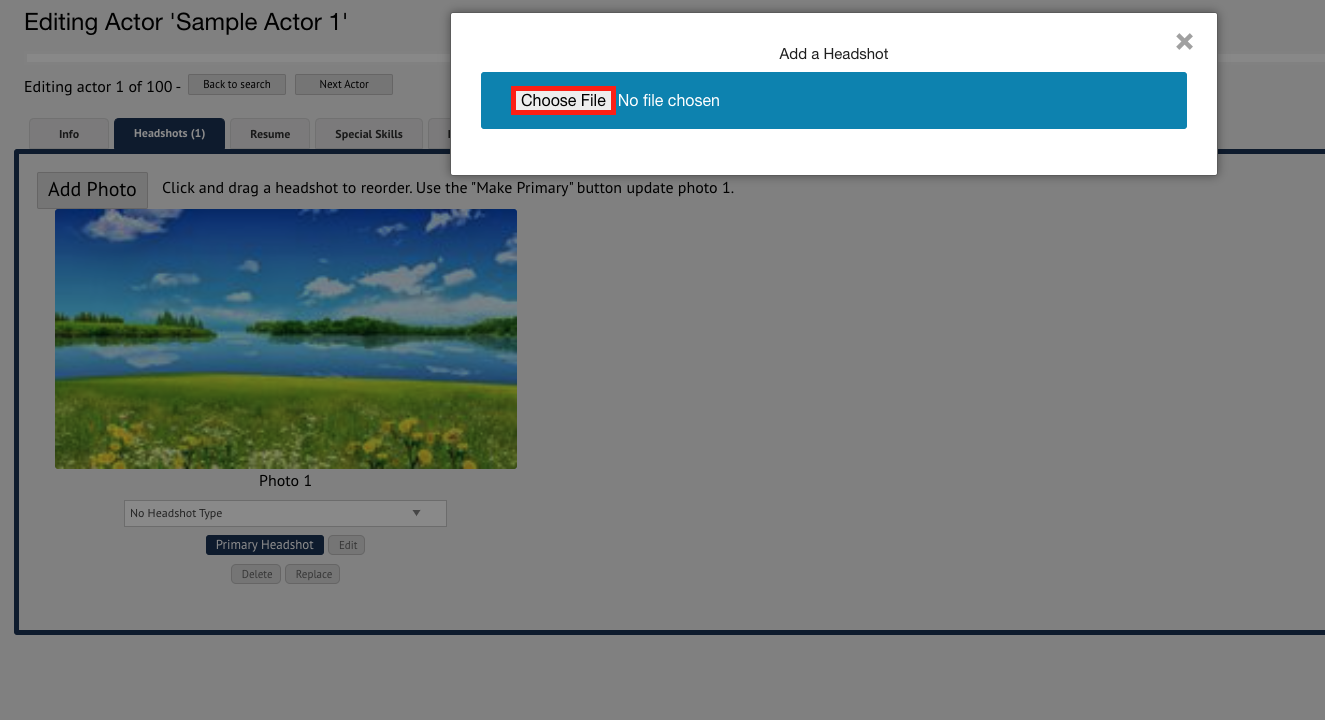
Locate the file on your device and select it.
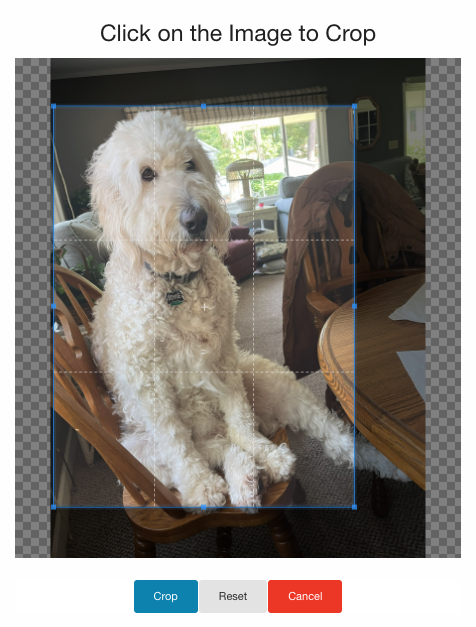
A pop-up menu will appear to crop the photo. Click on the photo itself to adjust the crop.
Once finalized, click the Crop button.
If the Talent is not on a paid membership, you will be prompted to make a payment to upload the photo to the Talent's account.

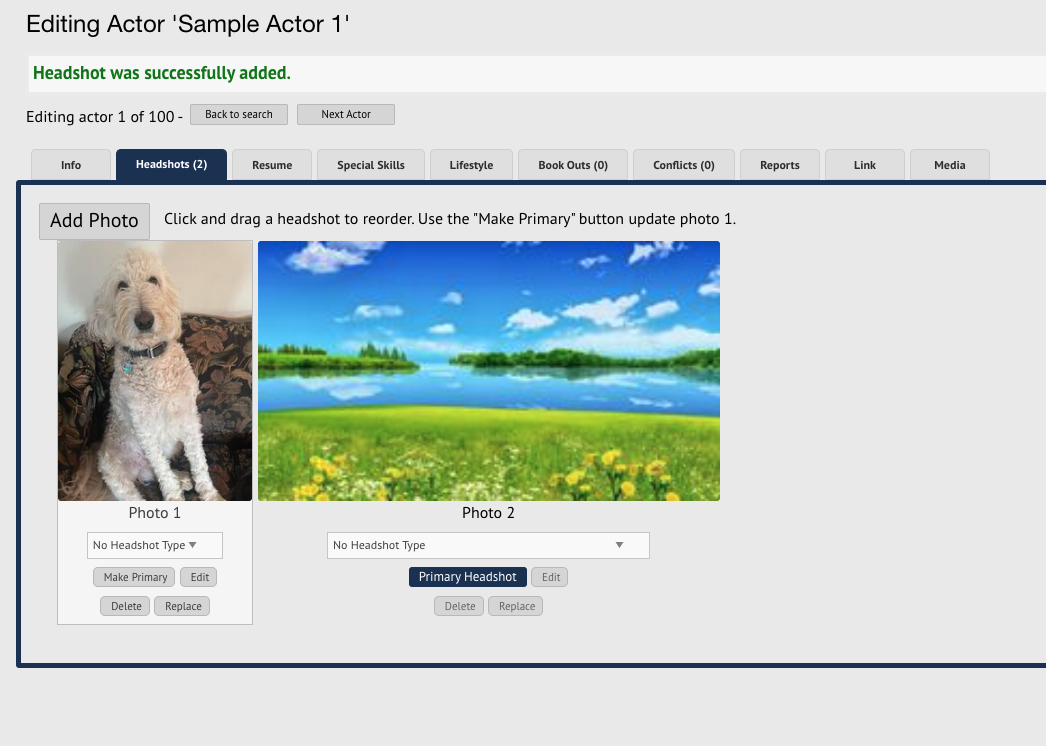
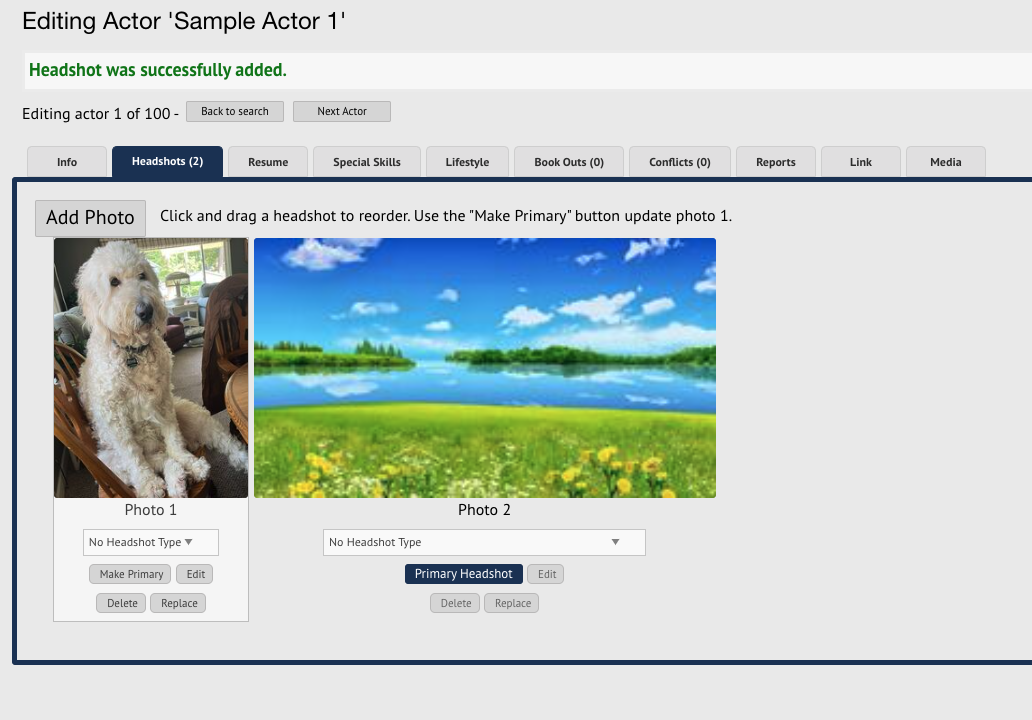
The photo will be uploaded to the Talent's account.
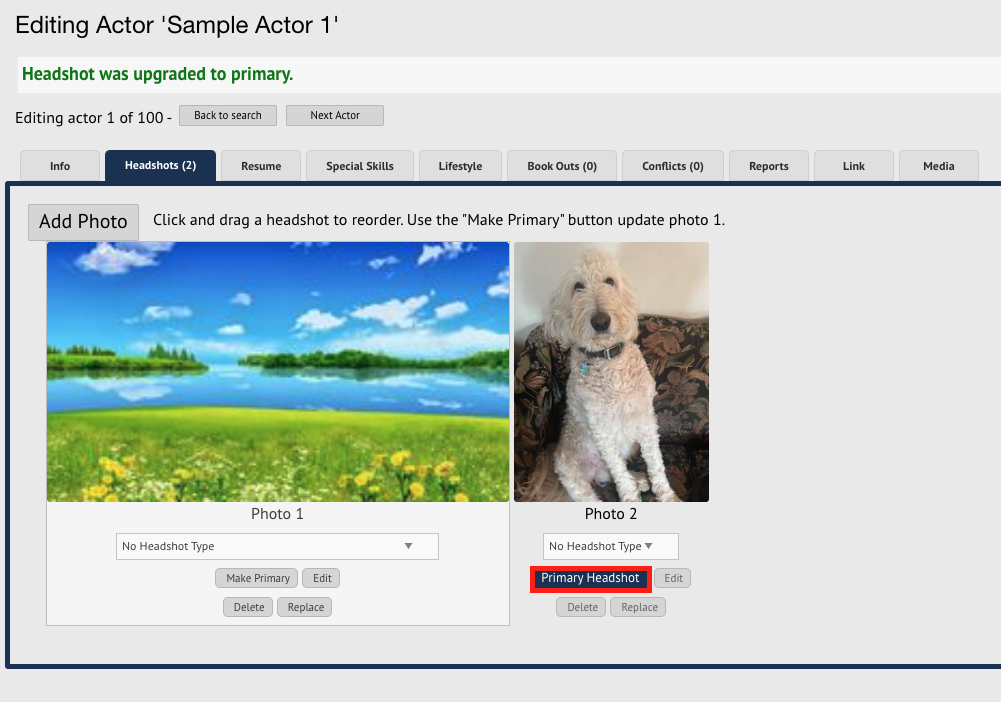
Updating the Primary Headshot for a Talent
You will always be able to tell which headshot is a Talent's primary headshot by the icon underneath the photo.
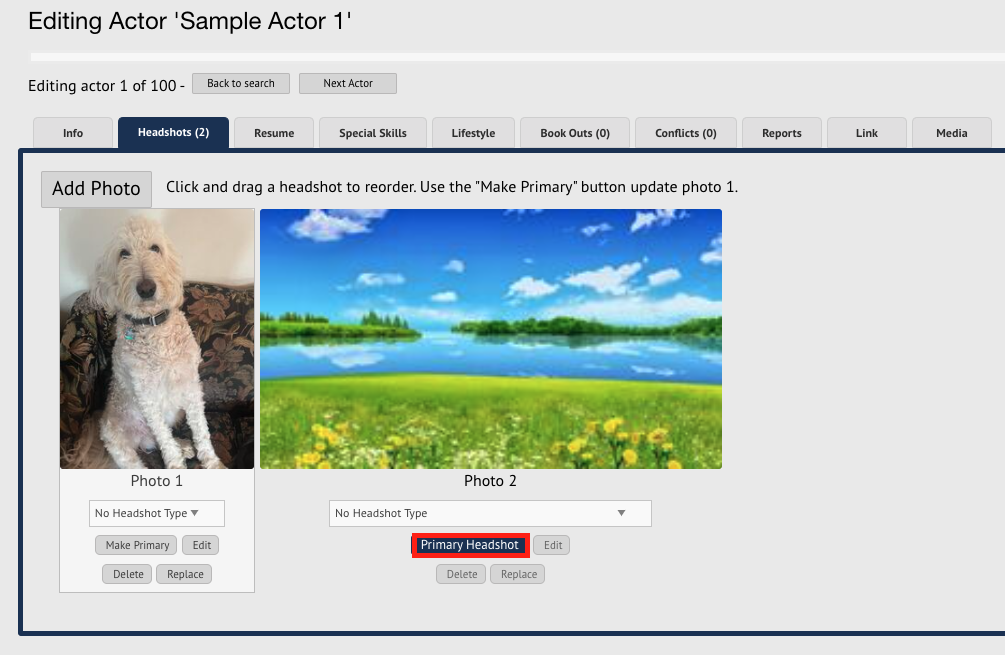
Locate a headshot that is not already the primary headshot.
Click on the Make Primary button under the photo.
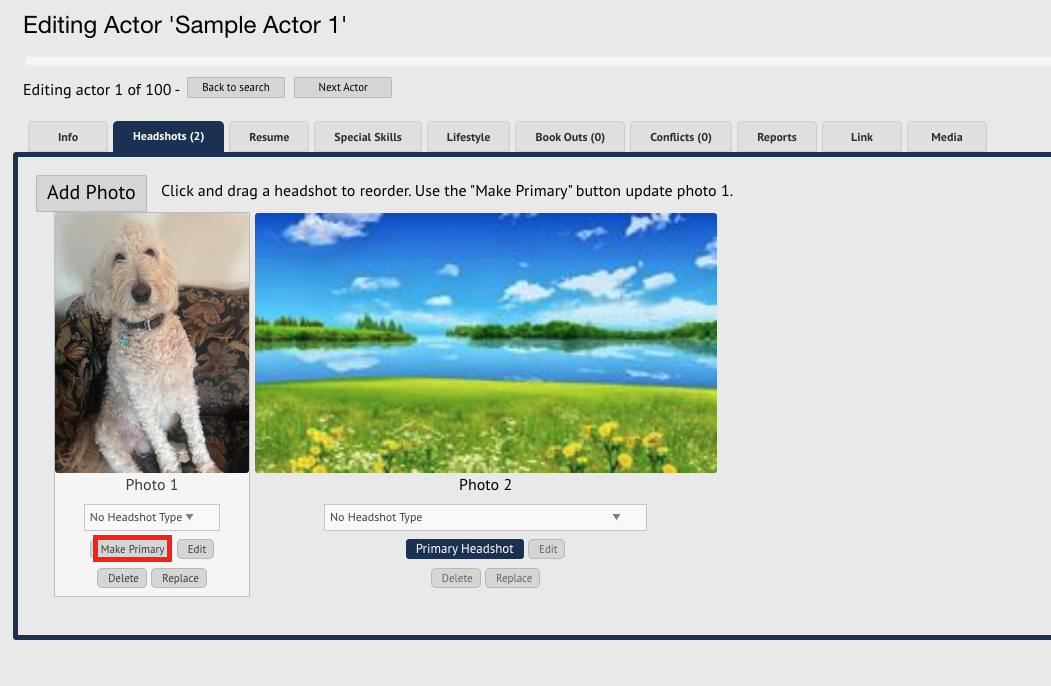
The primary headshot will be updated.
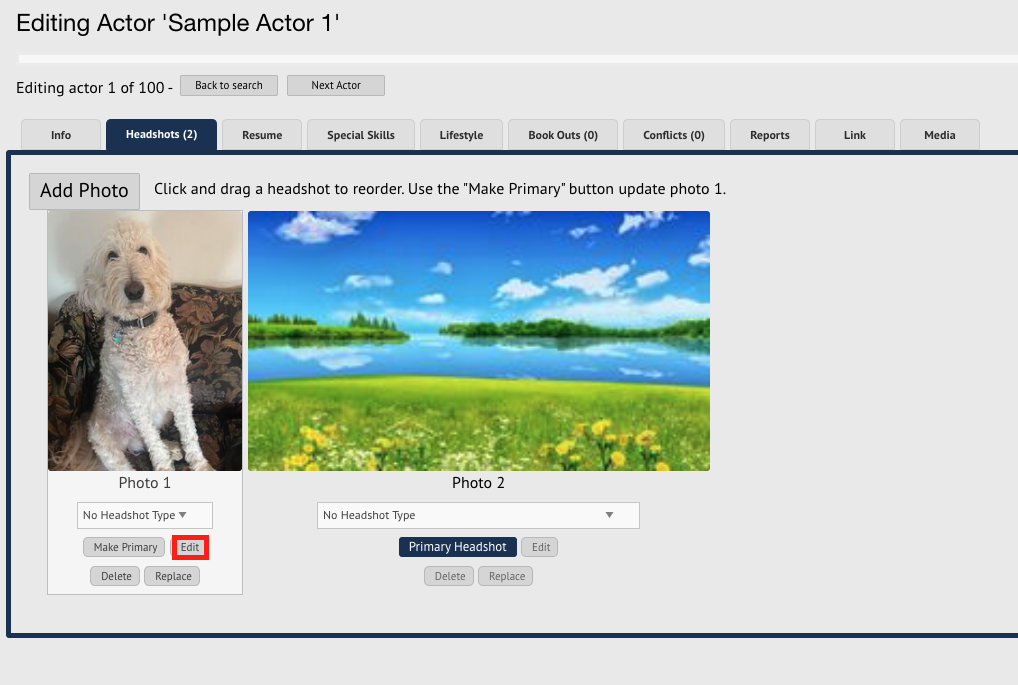
Edit the Crop of an Existing Headshot
Click on the Edit button under the photo you wish to adjust.
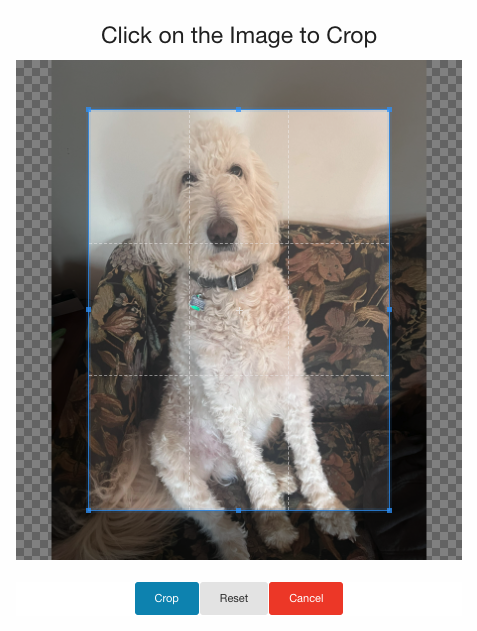
A pop-up menu will appear. Click on the photo itself to adjust the crop.
Once finalized, click the Crop button.
The headshot will be updated on the Talent's account.
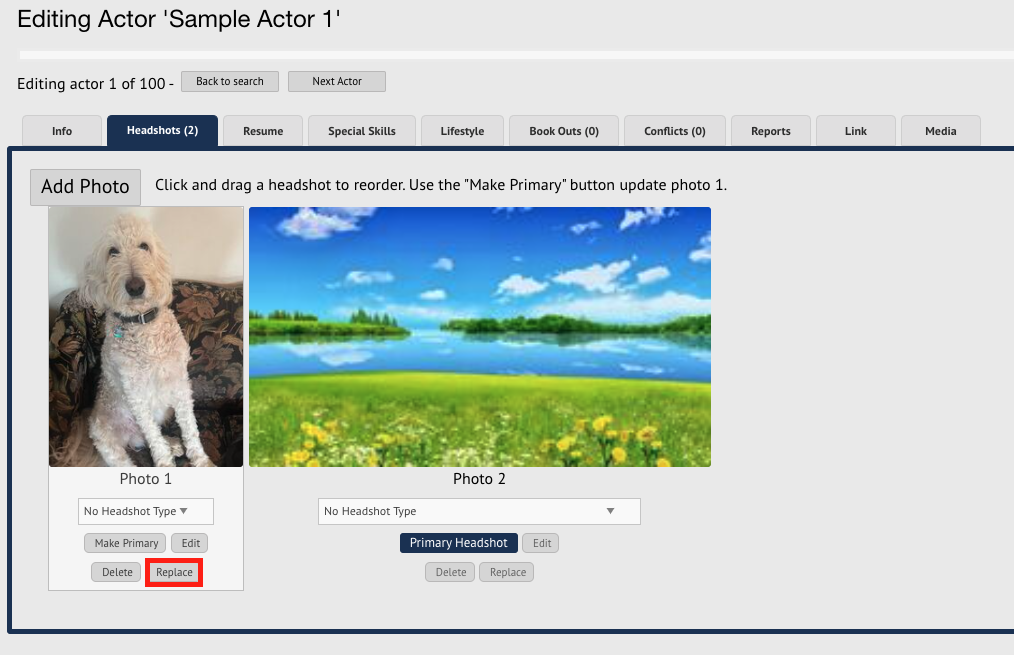
Replacing a Headshot
Click on the Replace button underneath the headshot you want to replace.
Locate the file on your device and select it.
A pop-up menu will appear. Click on the photo itself to adjust the crop.
Once finalized, click the Crop button.
If the Talent is not on a paid membership, you will be prompted to make a payment to swap the photo on the Talent's account.
The photo will be uploaded to the Talent's account.
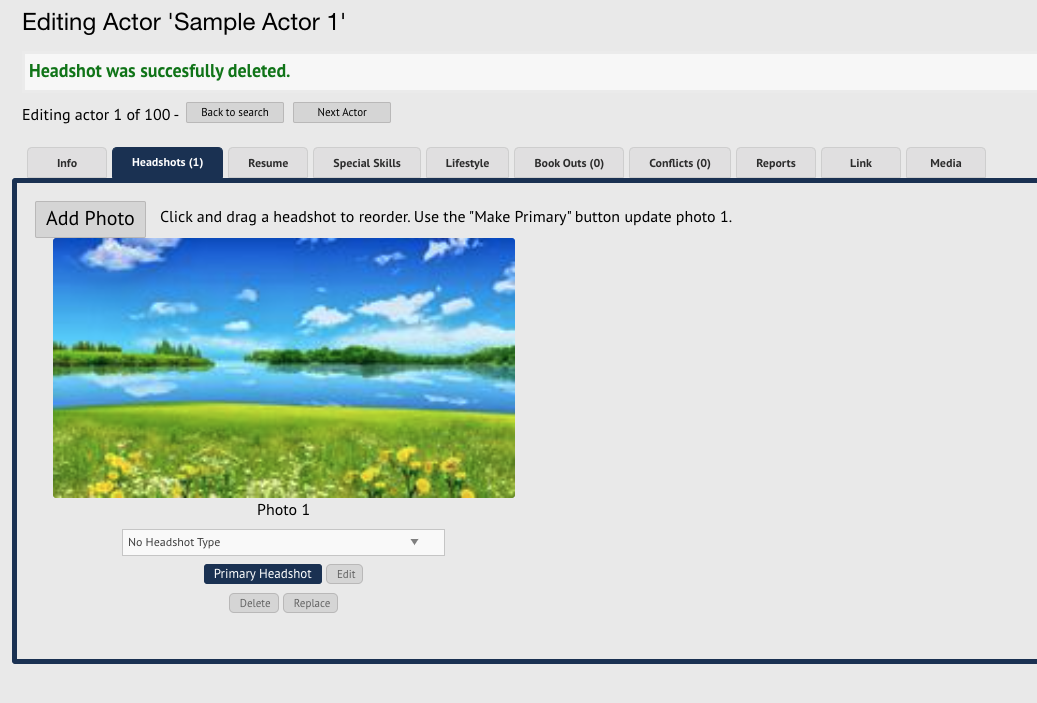
Deleting a Headshot
Click on the Delete button under the photo you want to delete.
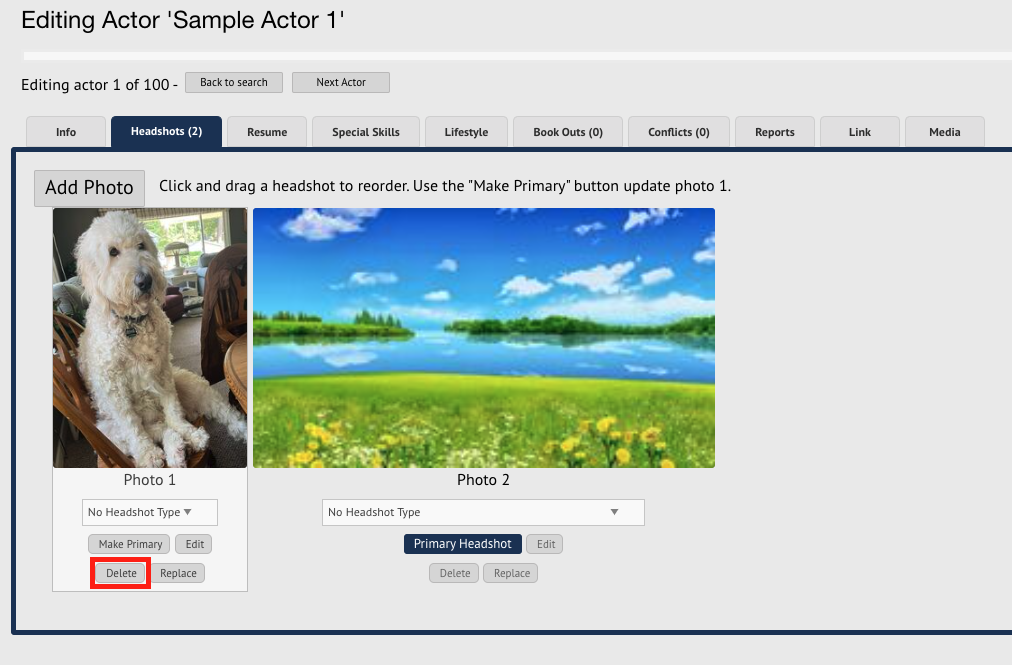
The photo will be deleted from the Talent's account.